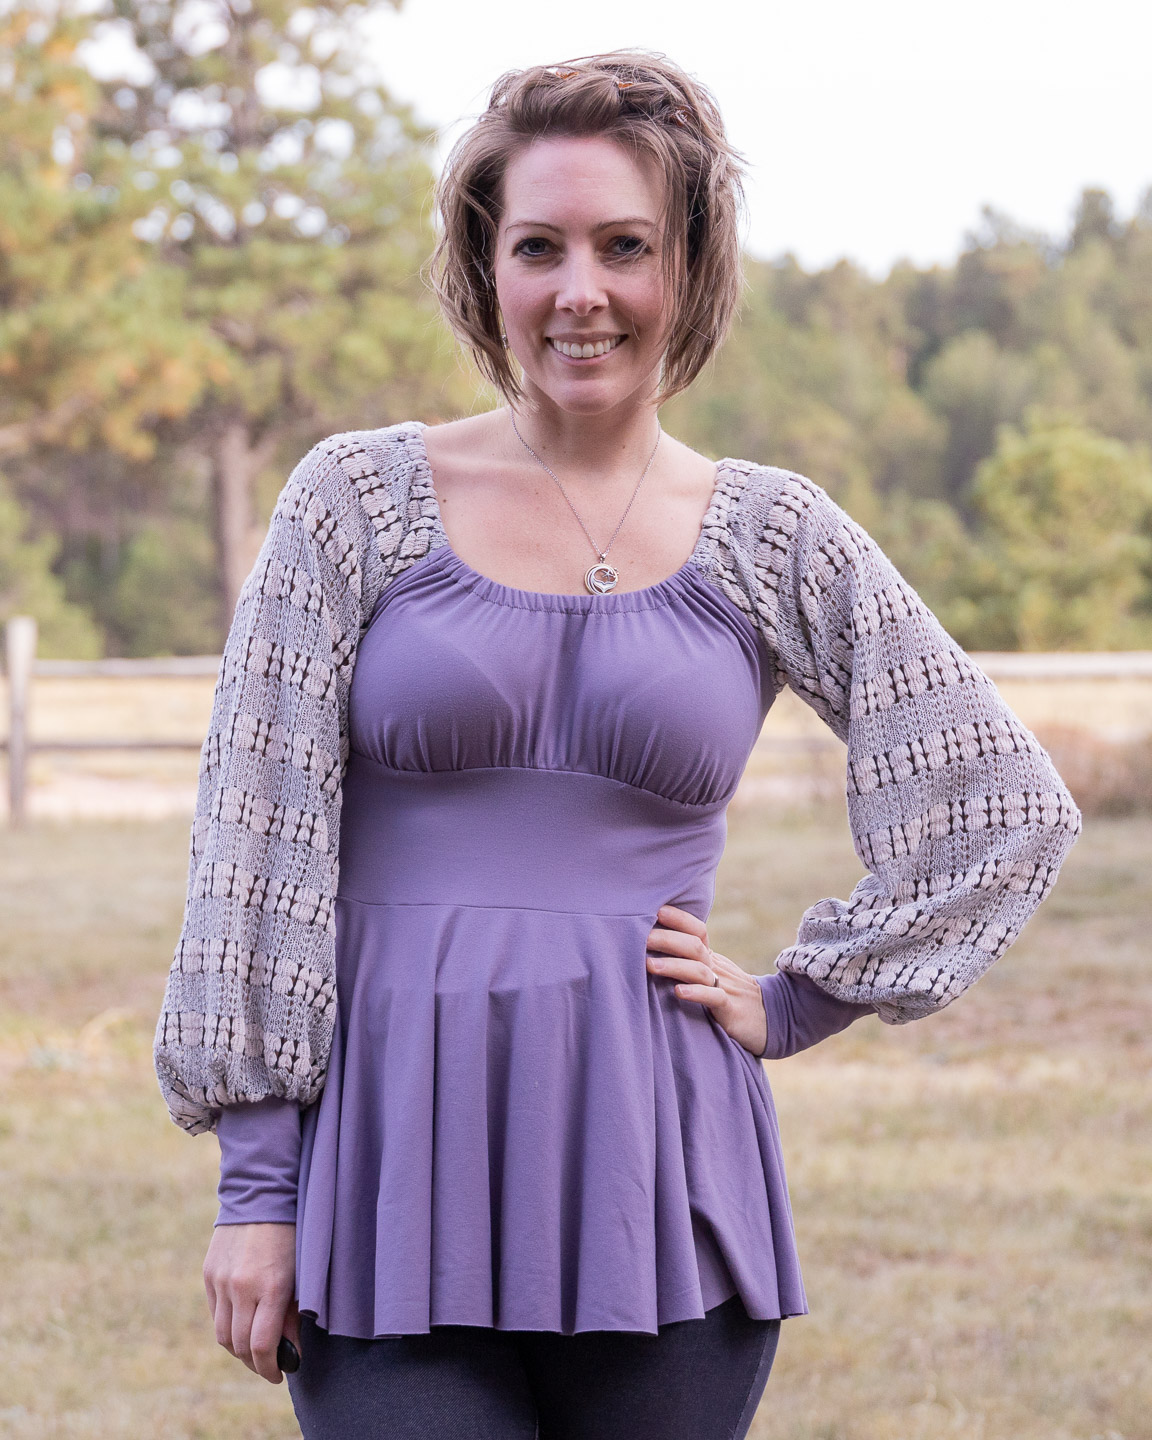
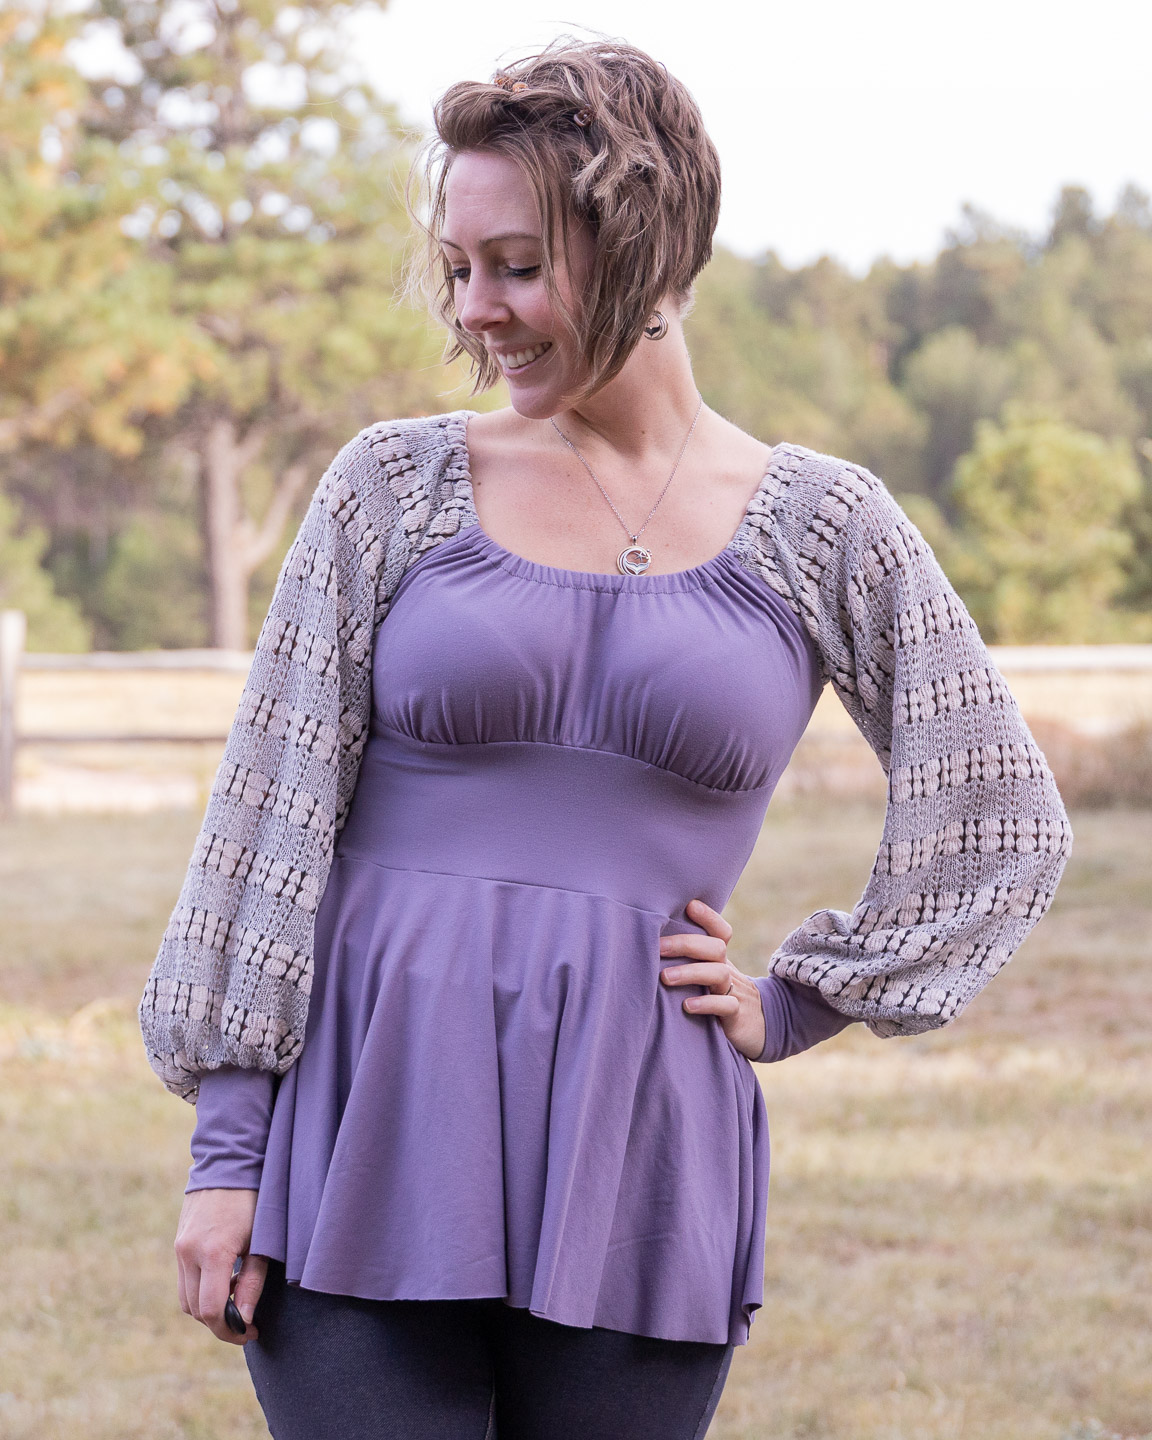
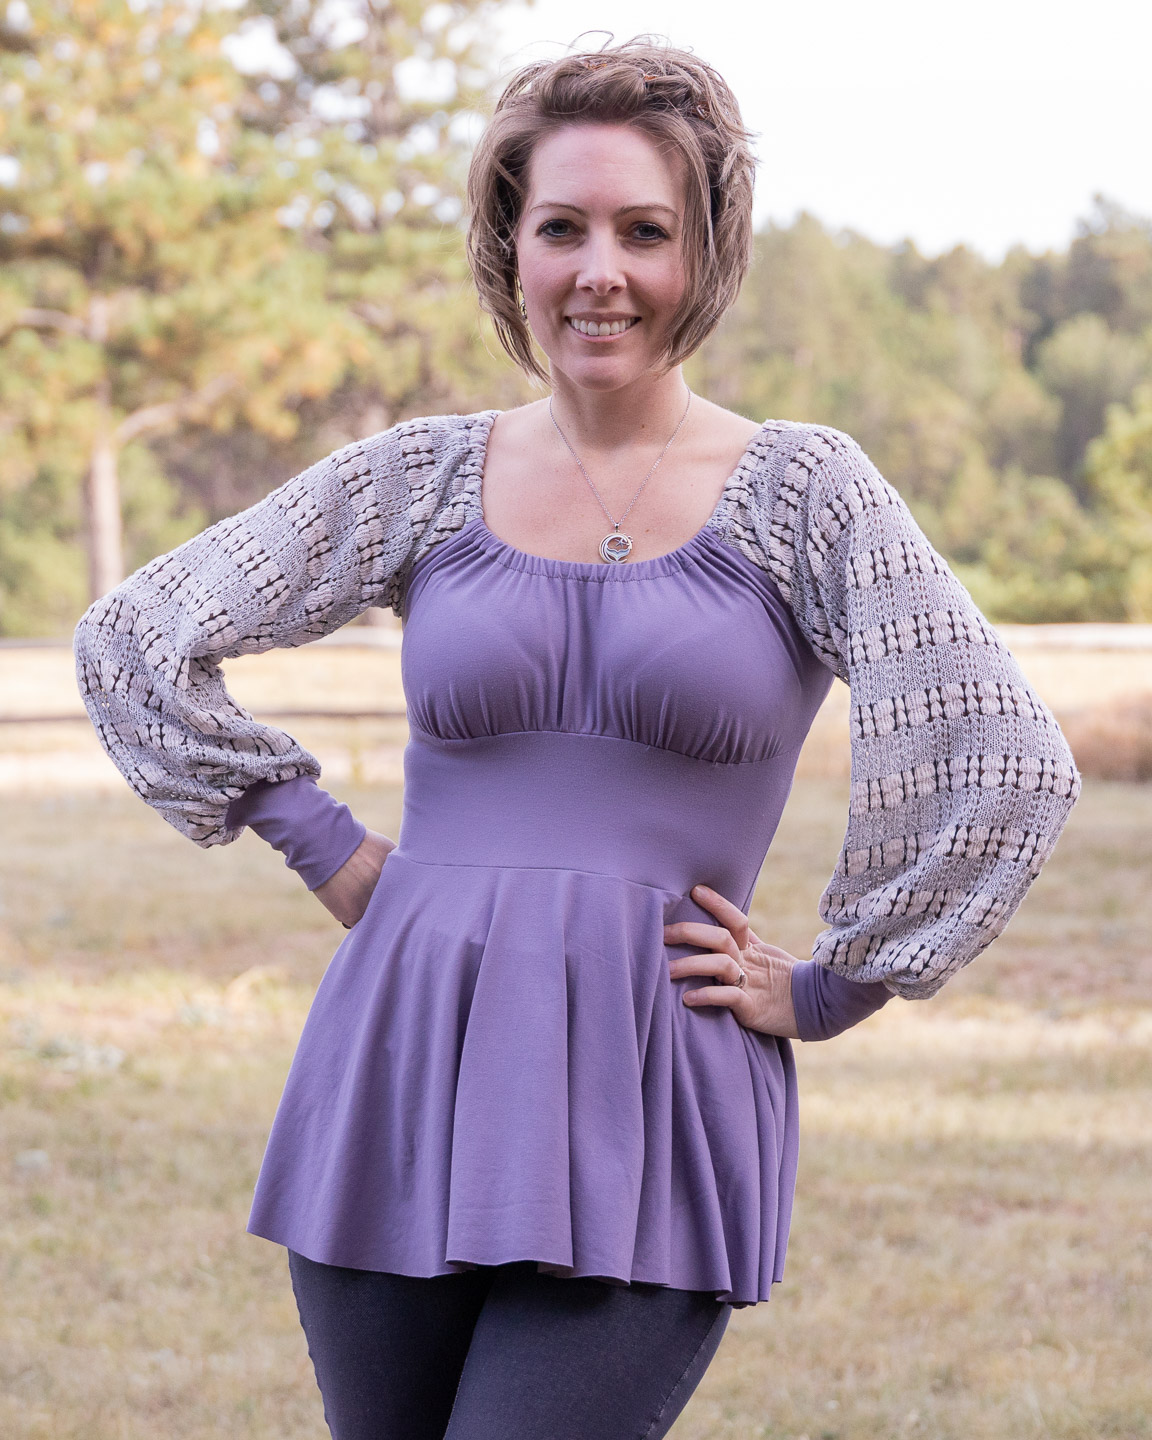
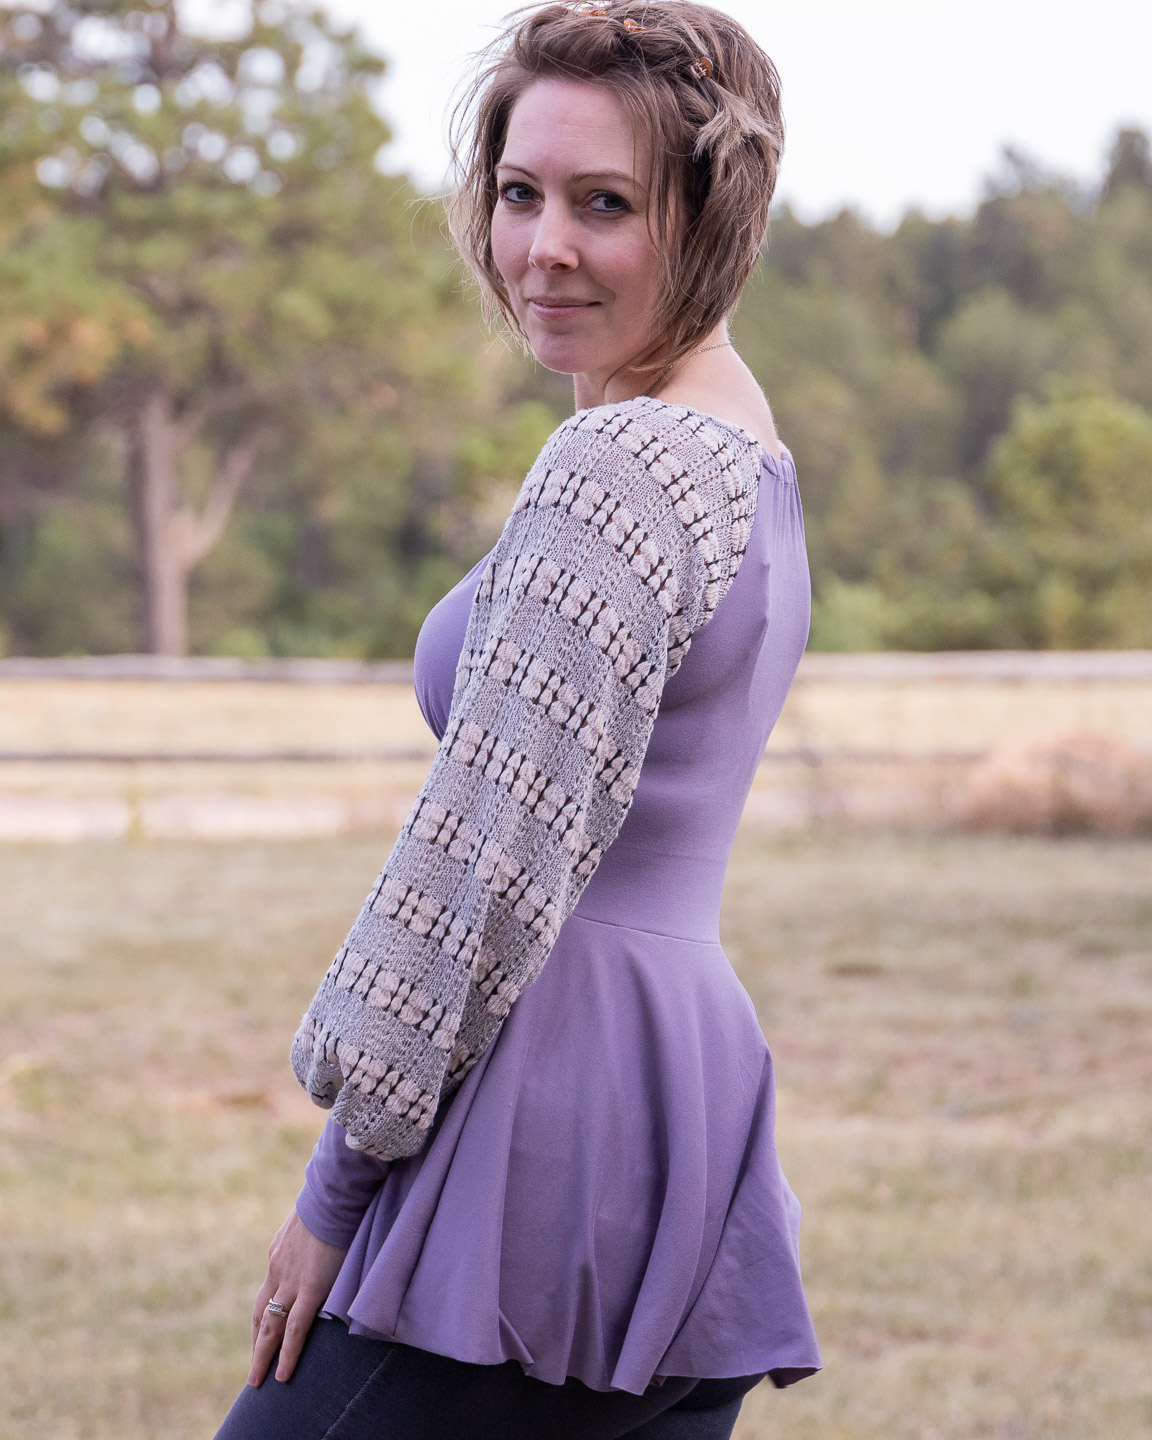
I’m a little obsessed with the sleeves and neckline on this pattern. And so behold! Version #3:
About This Make
Ellie and Mac: Lakeisha Cottage Crop Top, Peplum & Dress Pattern
- size small graded to large at waist
- A-cup
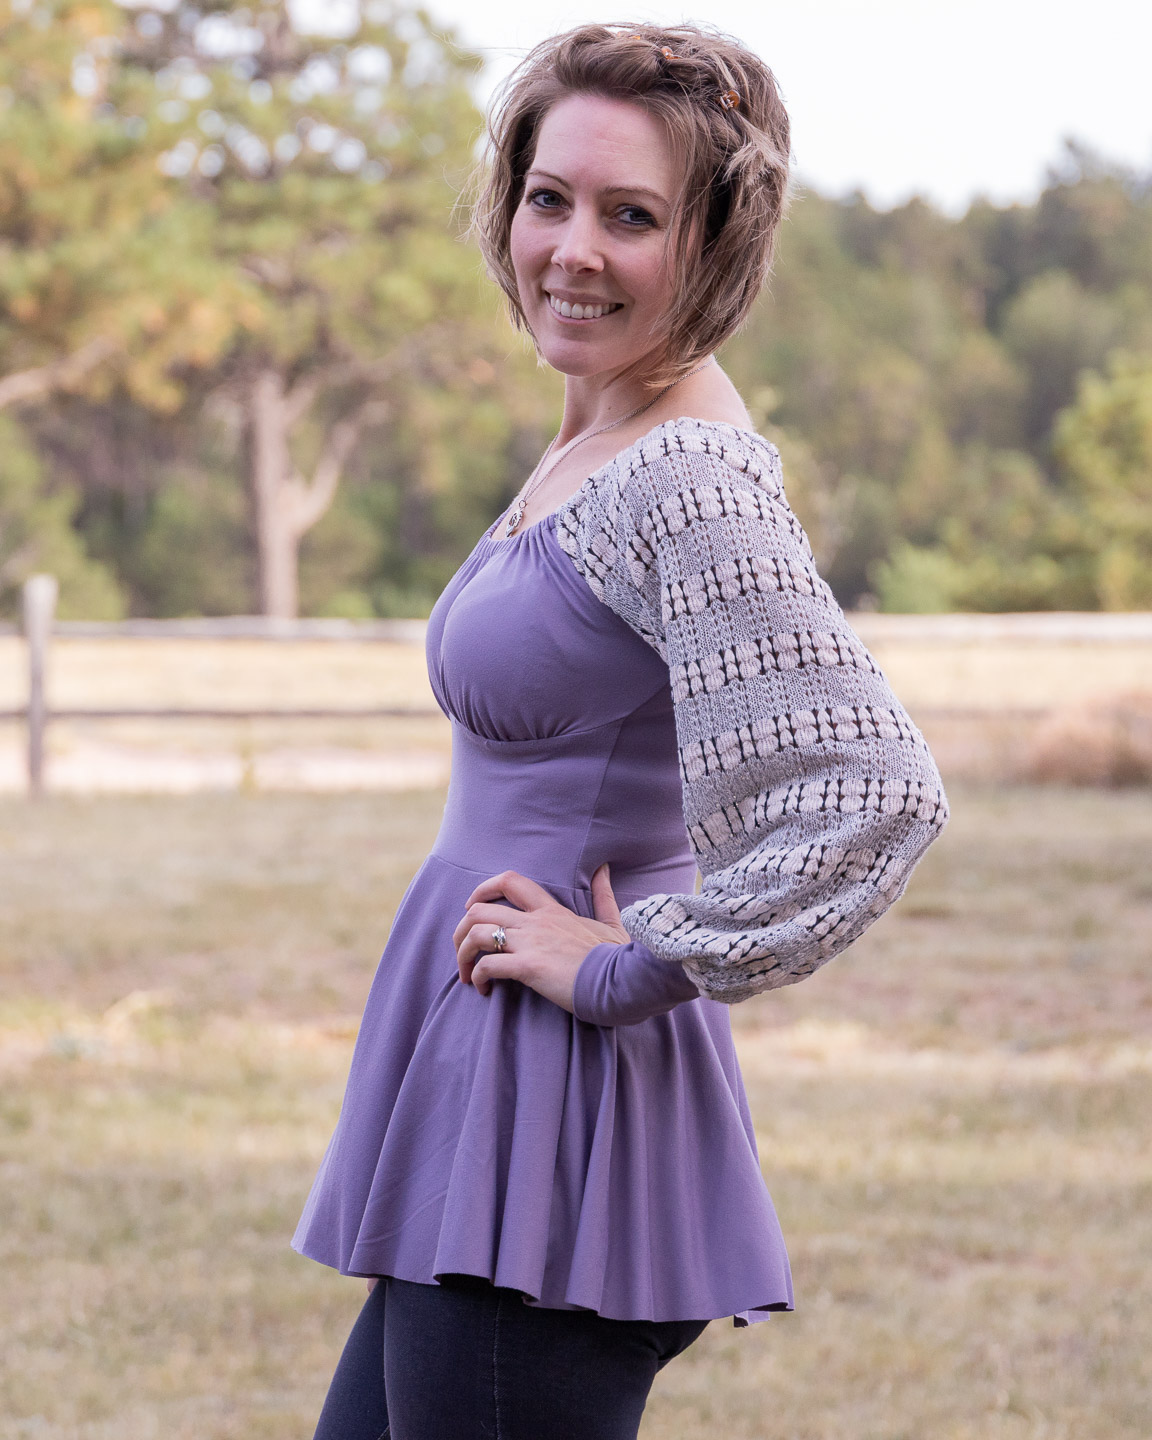
- bishop sleeves
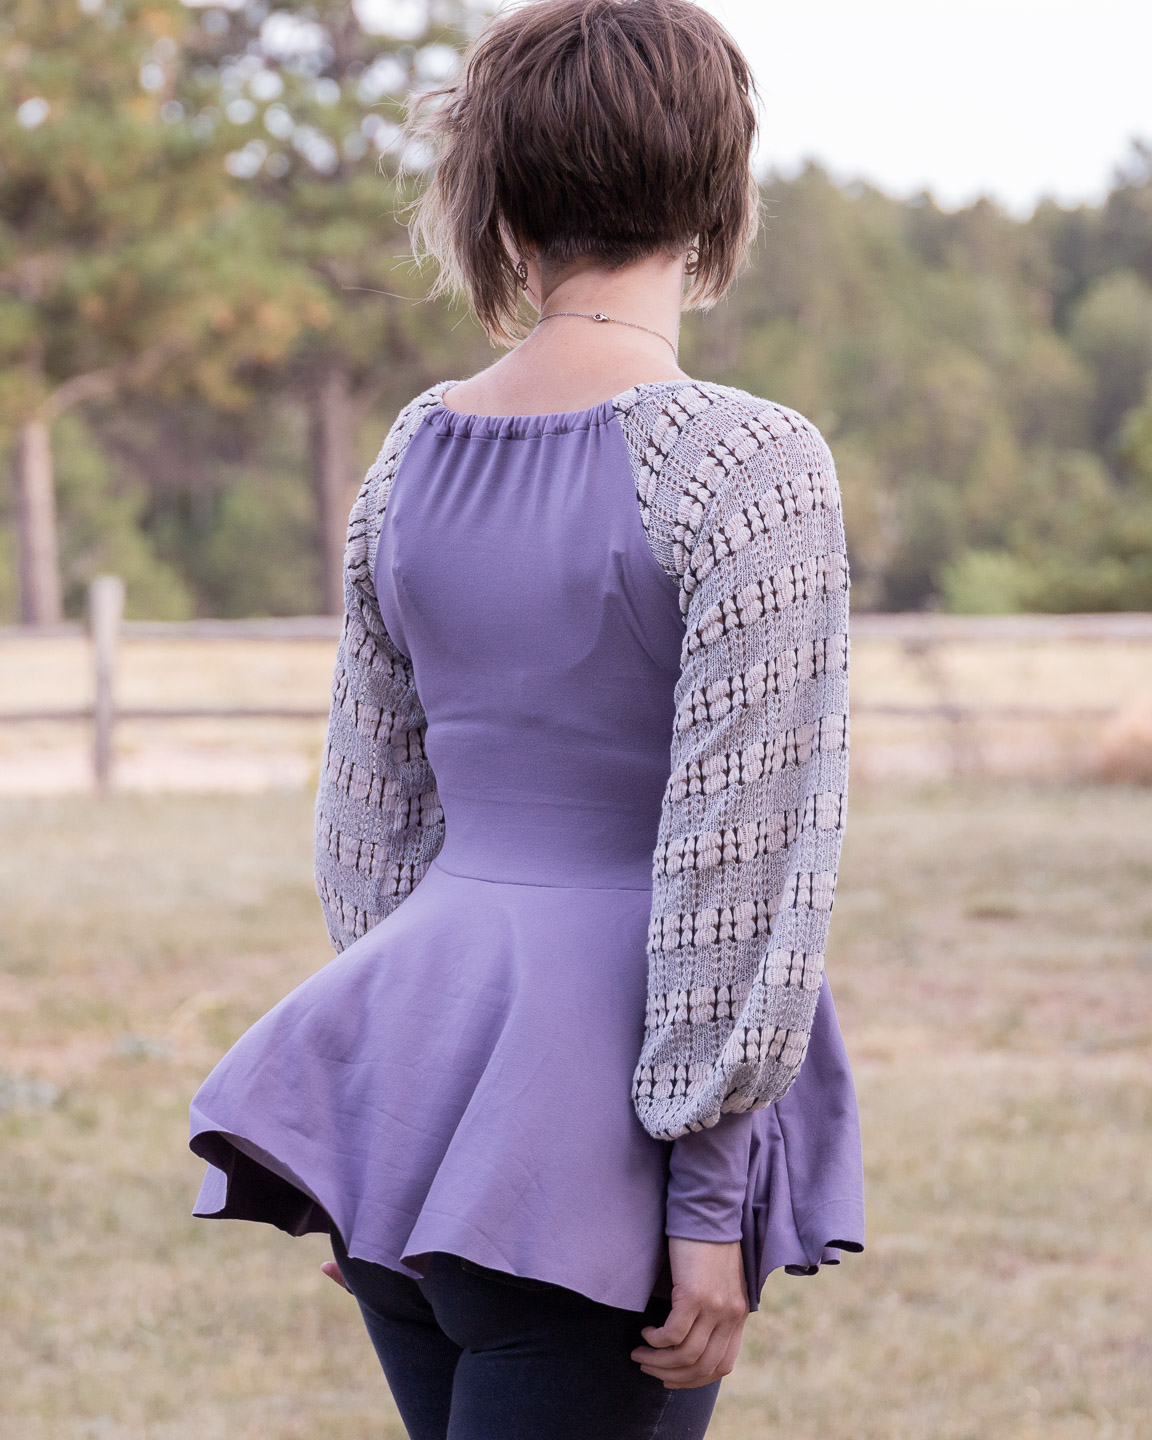
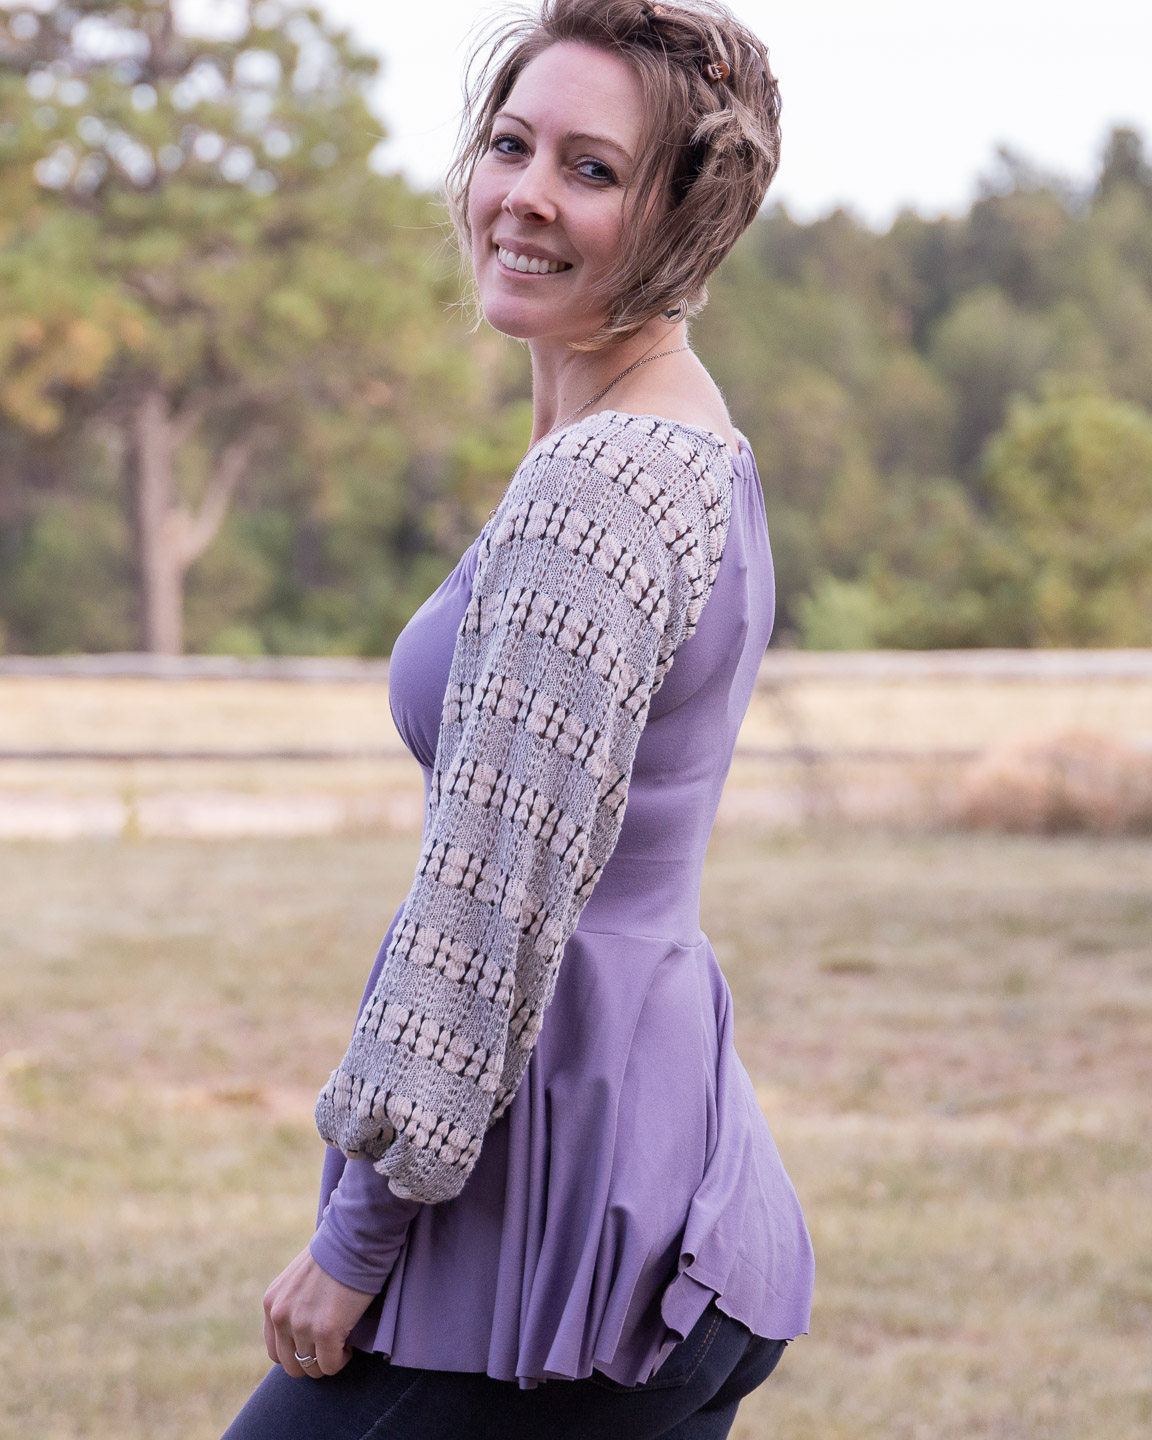
- long peplum
- +1″ to waist
- +1″ to cuffs
- +1″ to peplum skirt
About the Fabric
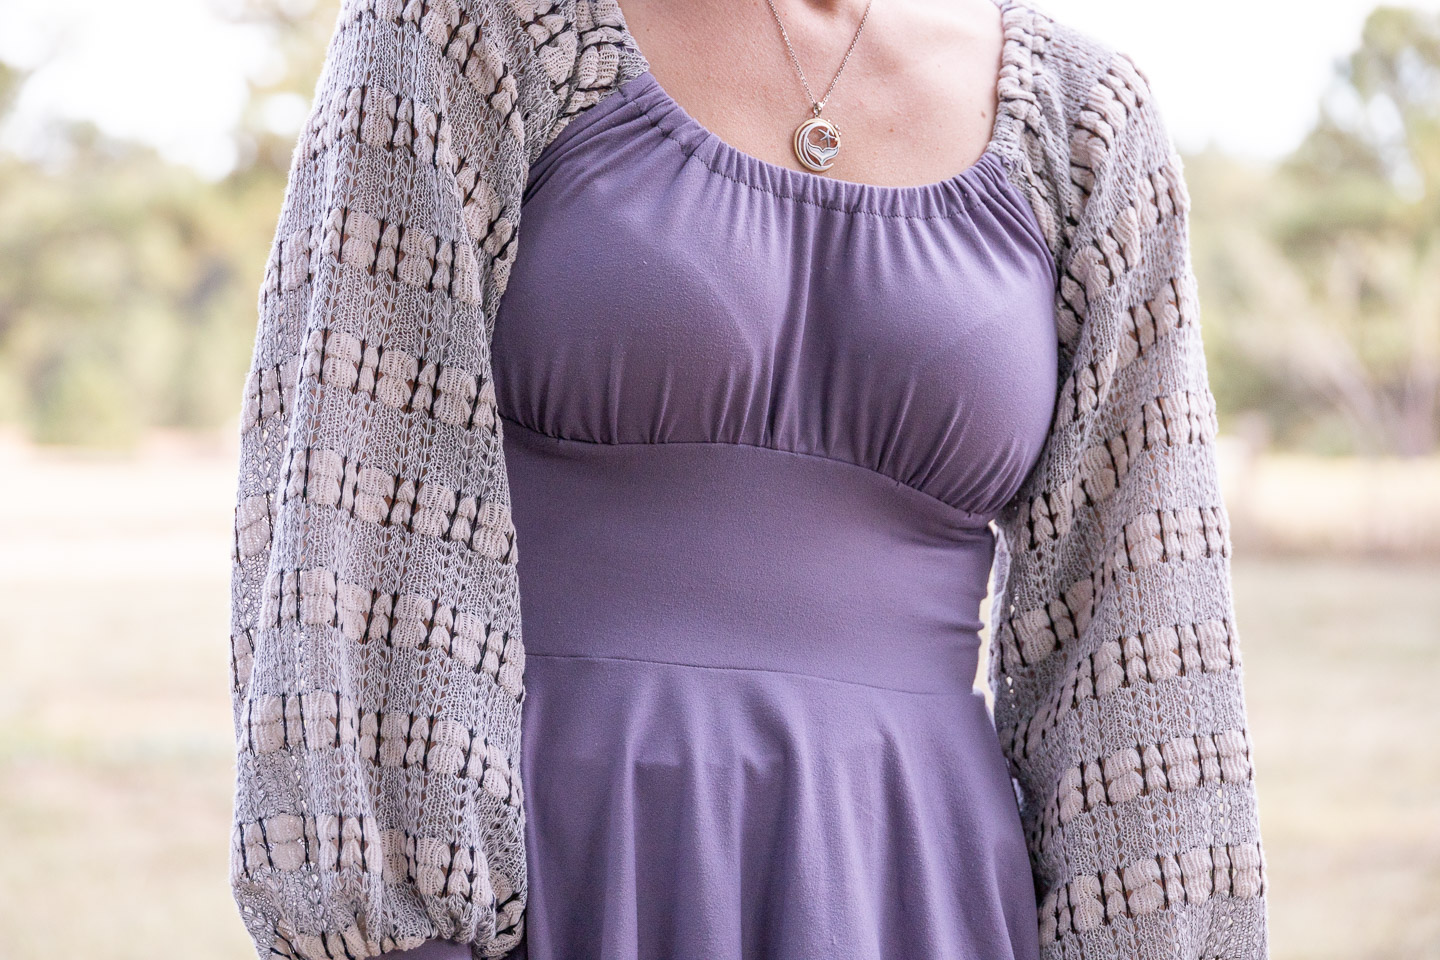
Main: Dusty Lavender Double Brushed Poly Spandex from Cali Fabrics
- FABRIC CONTENT: 96% Poly/ 4% Spandex
- WEIGHT: Light Midweight (5.5 oz)
- STRETCH: 4-way 125%
Originally earmarked for a pair of Peg Legs, I couldn’t resist pairing this with the leftover sweater knit from one of my Rock and Republic replicas. The color combination was 😚.
Sleeves: “Dream Cloud” Stripes Open Weave Intricate Sweater Knit from Boho Fabrics
- Weight: 8 oz.
- Horizontal Stretch: 50%
- Vertical Stretch: 10%
- Cotton/Poly Blend
I love this fabric, from the color to the interesting weave to the softness. For an open weave sweater knit, it offers just enough warmth to make a great fall transition fabric.
Other Notions:
- 3/8 white knit elastic
- 1/4 clear elastic
About the Pattern
Not the worst instructions, but there were a few eye-rolly bits.
- Why oh why are the pattern lines so fat? I mean, it’s almost to the point of a 1/4″ difference depending on if you trace the inside of the line or the outside.
- There’s a note on the crop top version about adding length to accommodate the bottom elastic. It is smushed at the bottom of the required pieces page instead of somewhere more helpful like, oh I don’t know, ON the bodice pattern pieces.
- Every pattern piece says “1/4 seam allowance” AND “1/2 seam allowance.” I’m no sewing rookie, so I can recognize that’s a typo and the 1/2 is probably meant to say hem allowance. But still. Eye-rolly.
- It always bugs me a little when patterns don’t include lengthen/shorten lines and bust/waist/hip indicator marks.
- As I mentioned on my first version, I had to trim where the top bodice meets the bottom bodice when sewing the side seams because it ends up looking like this:


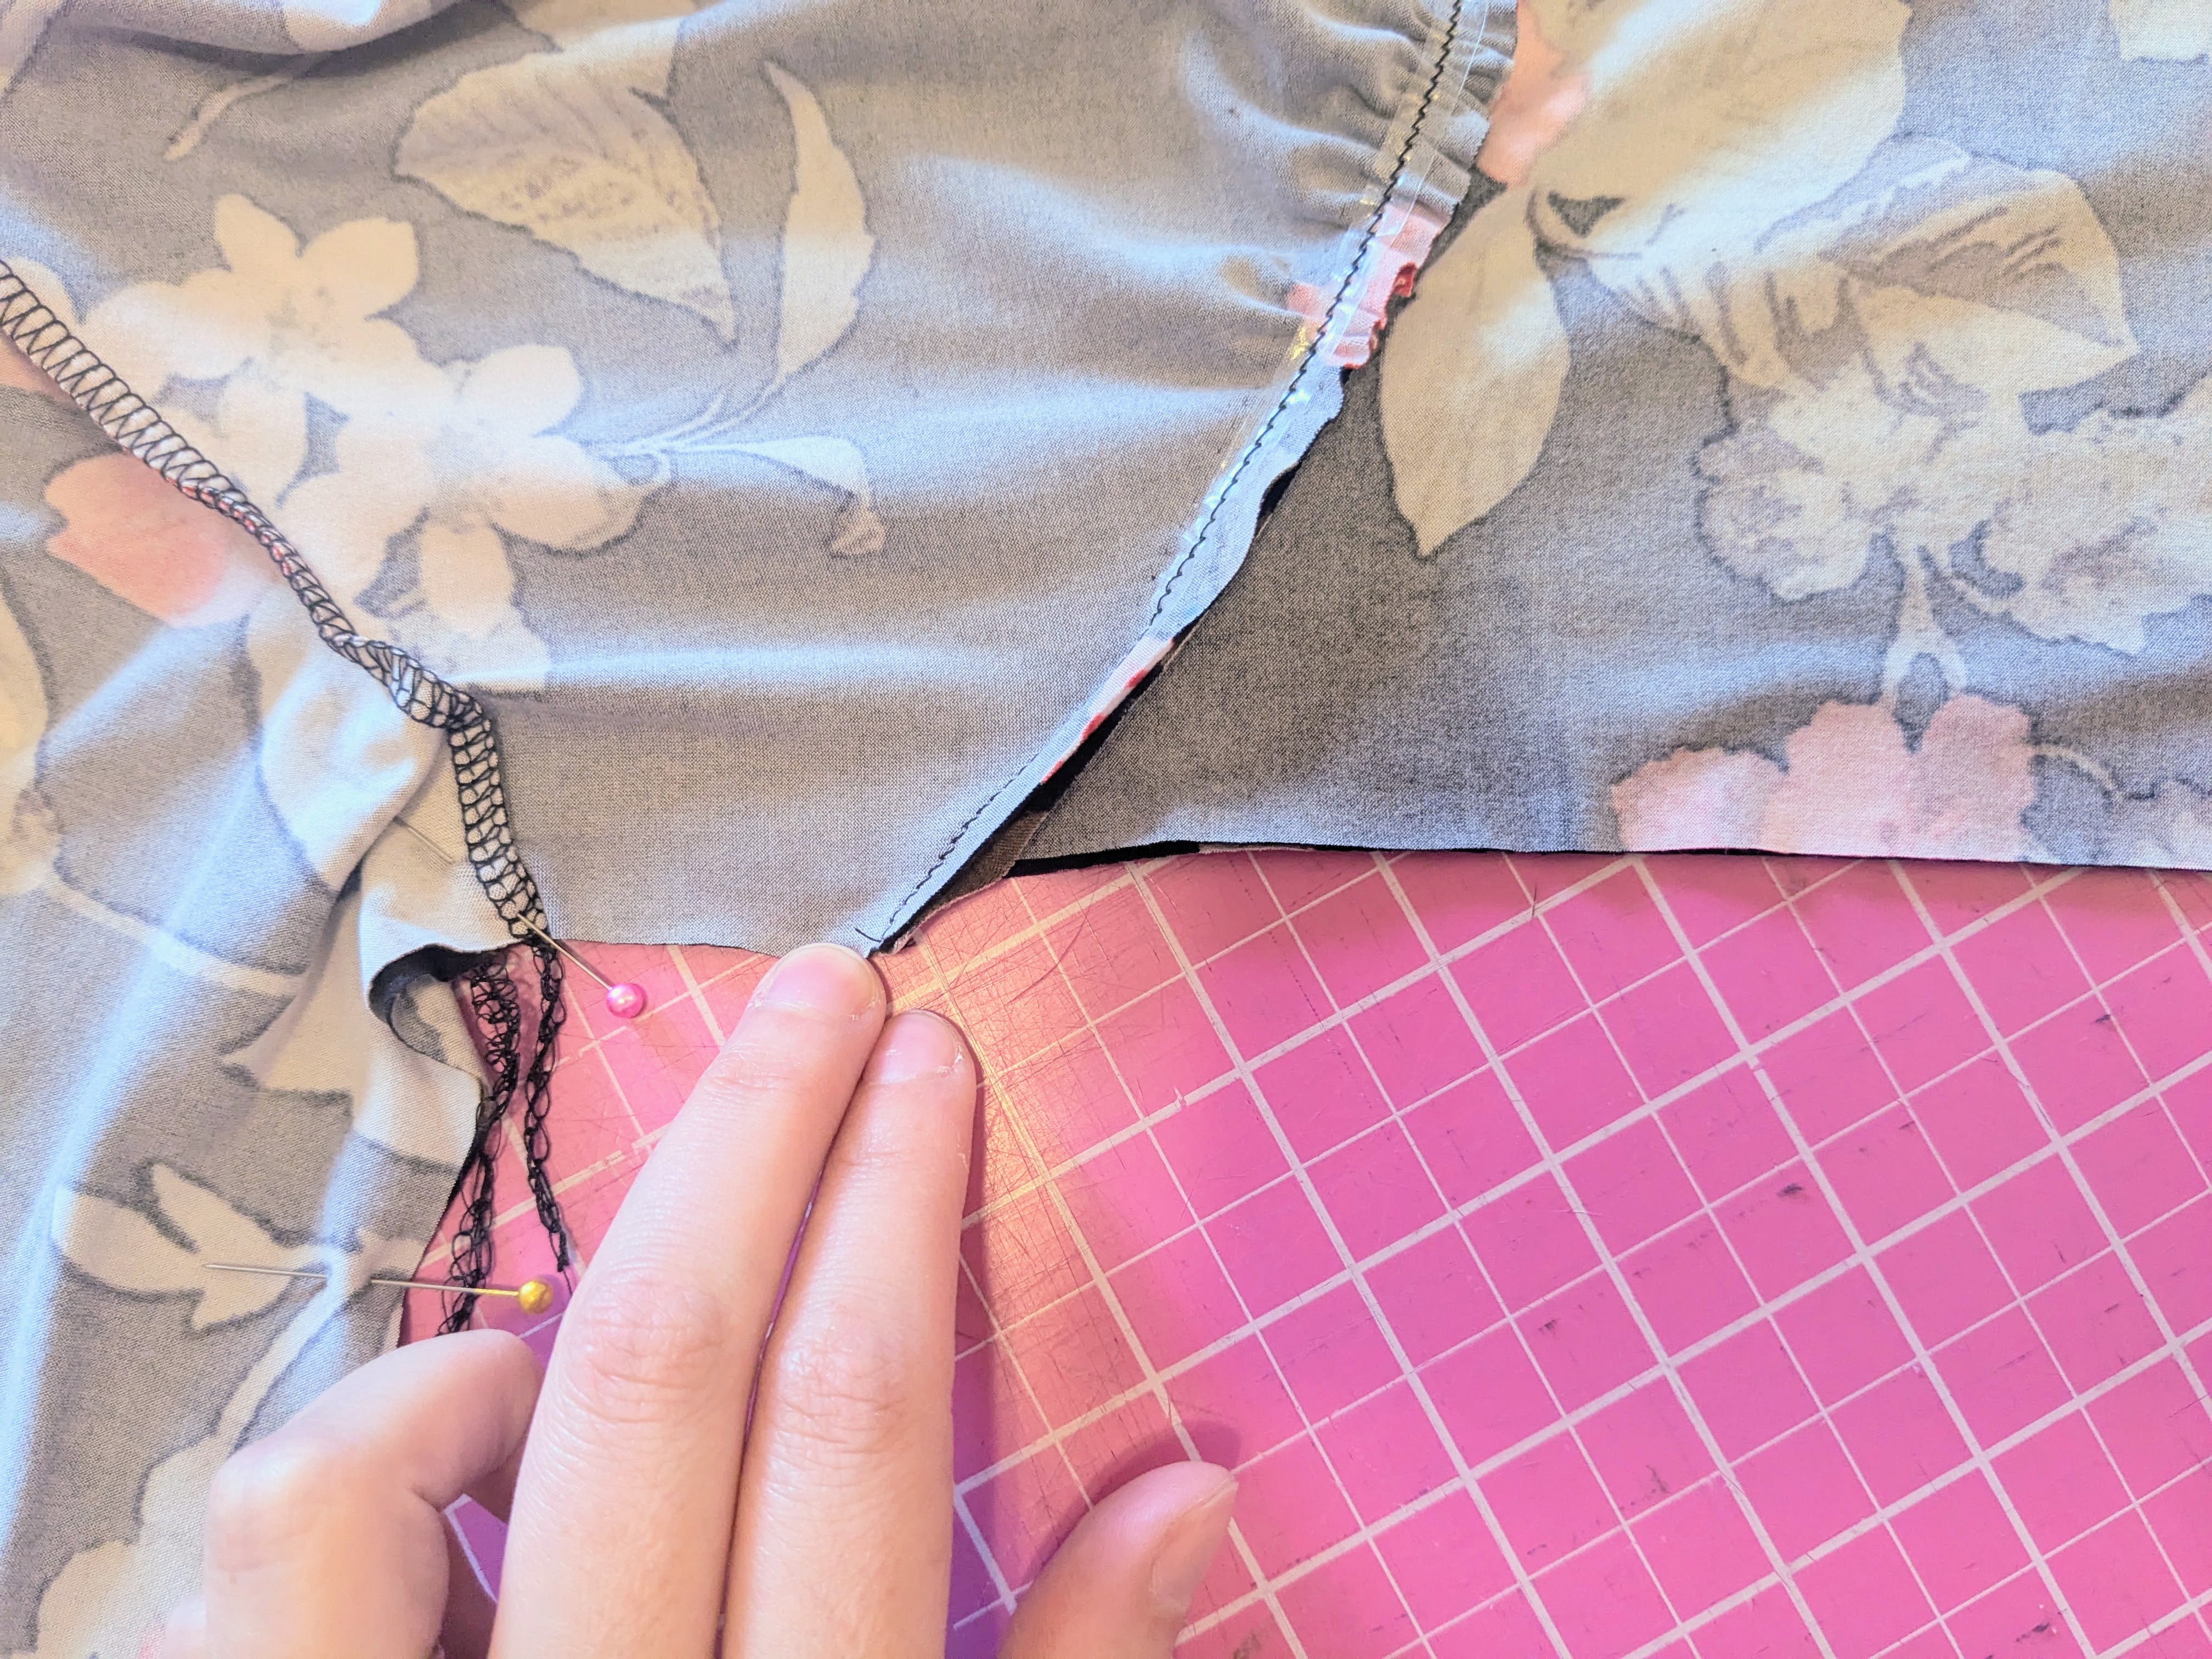
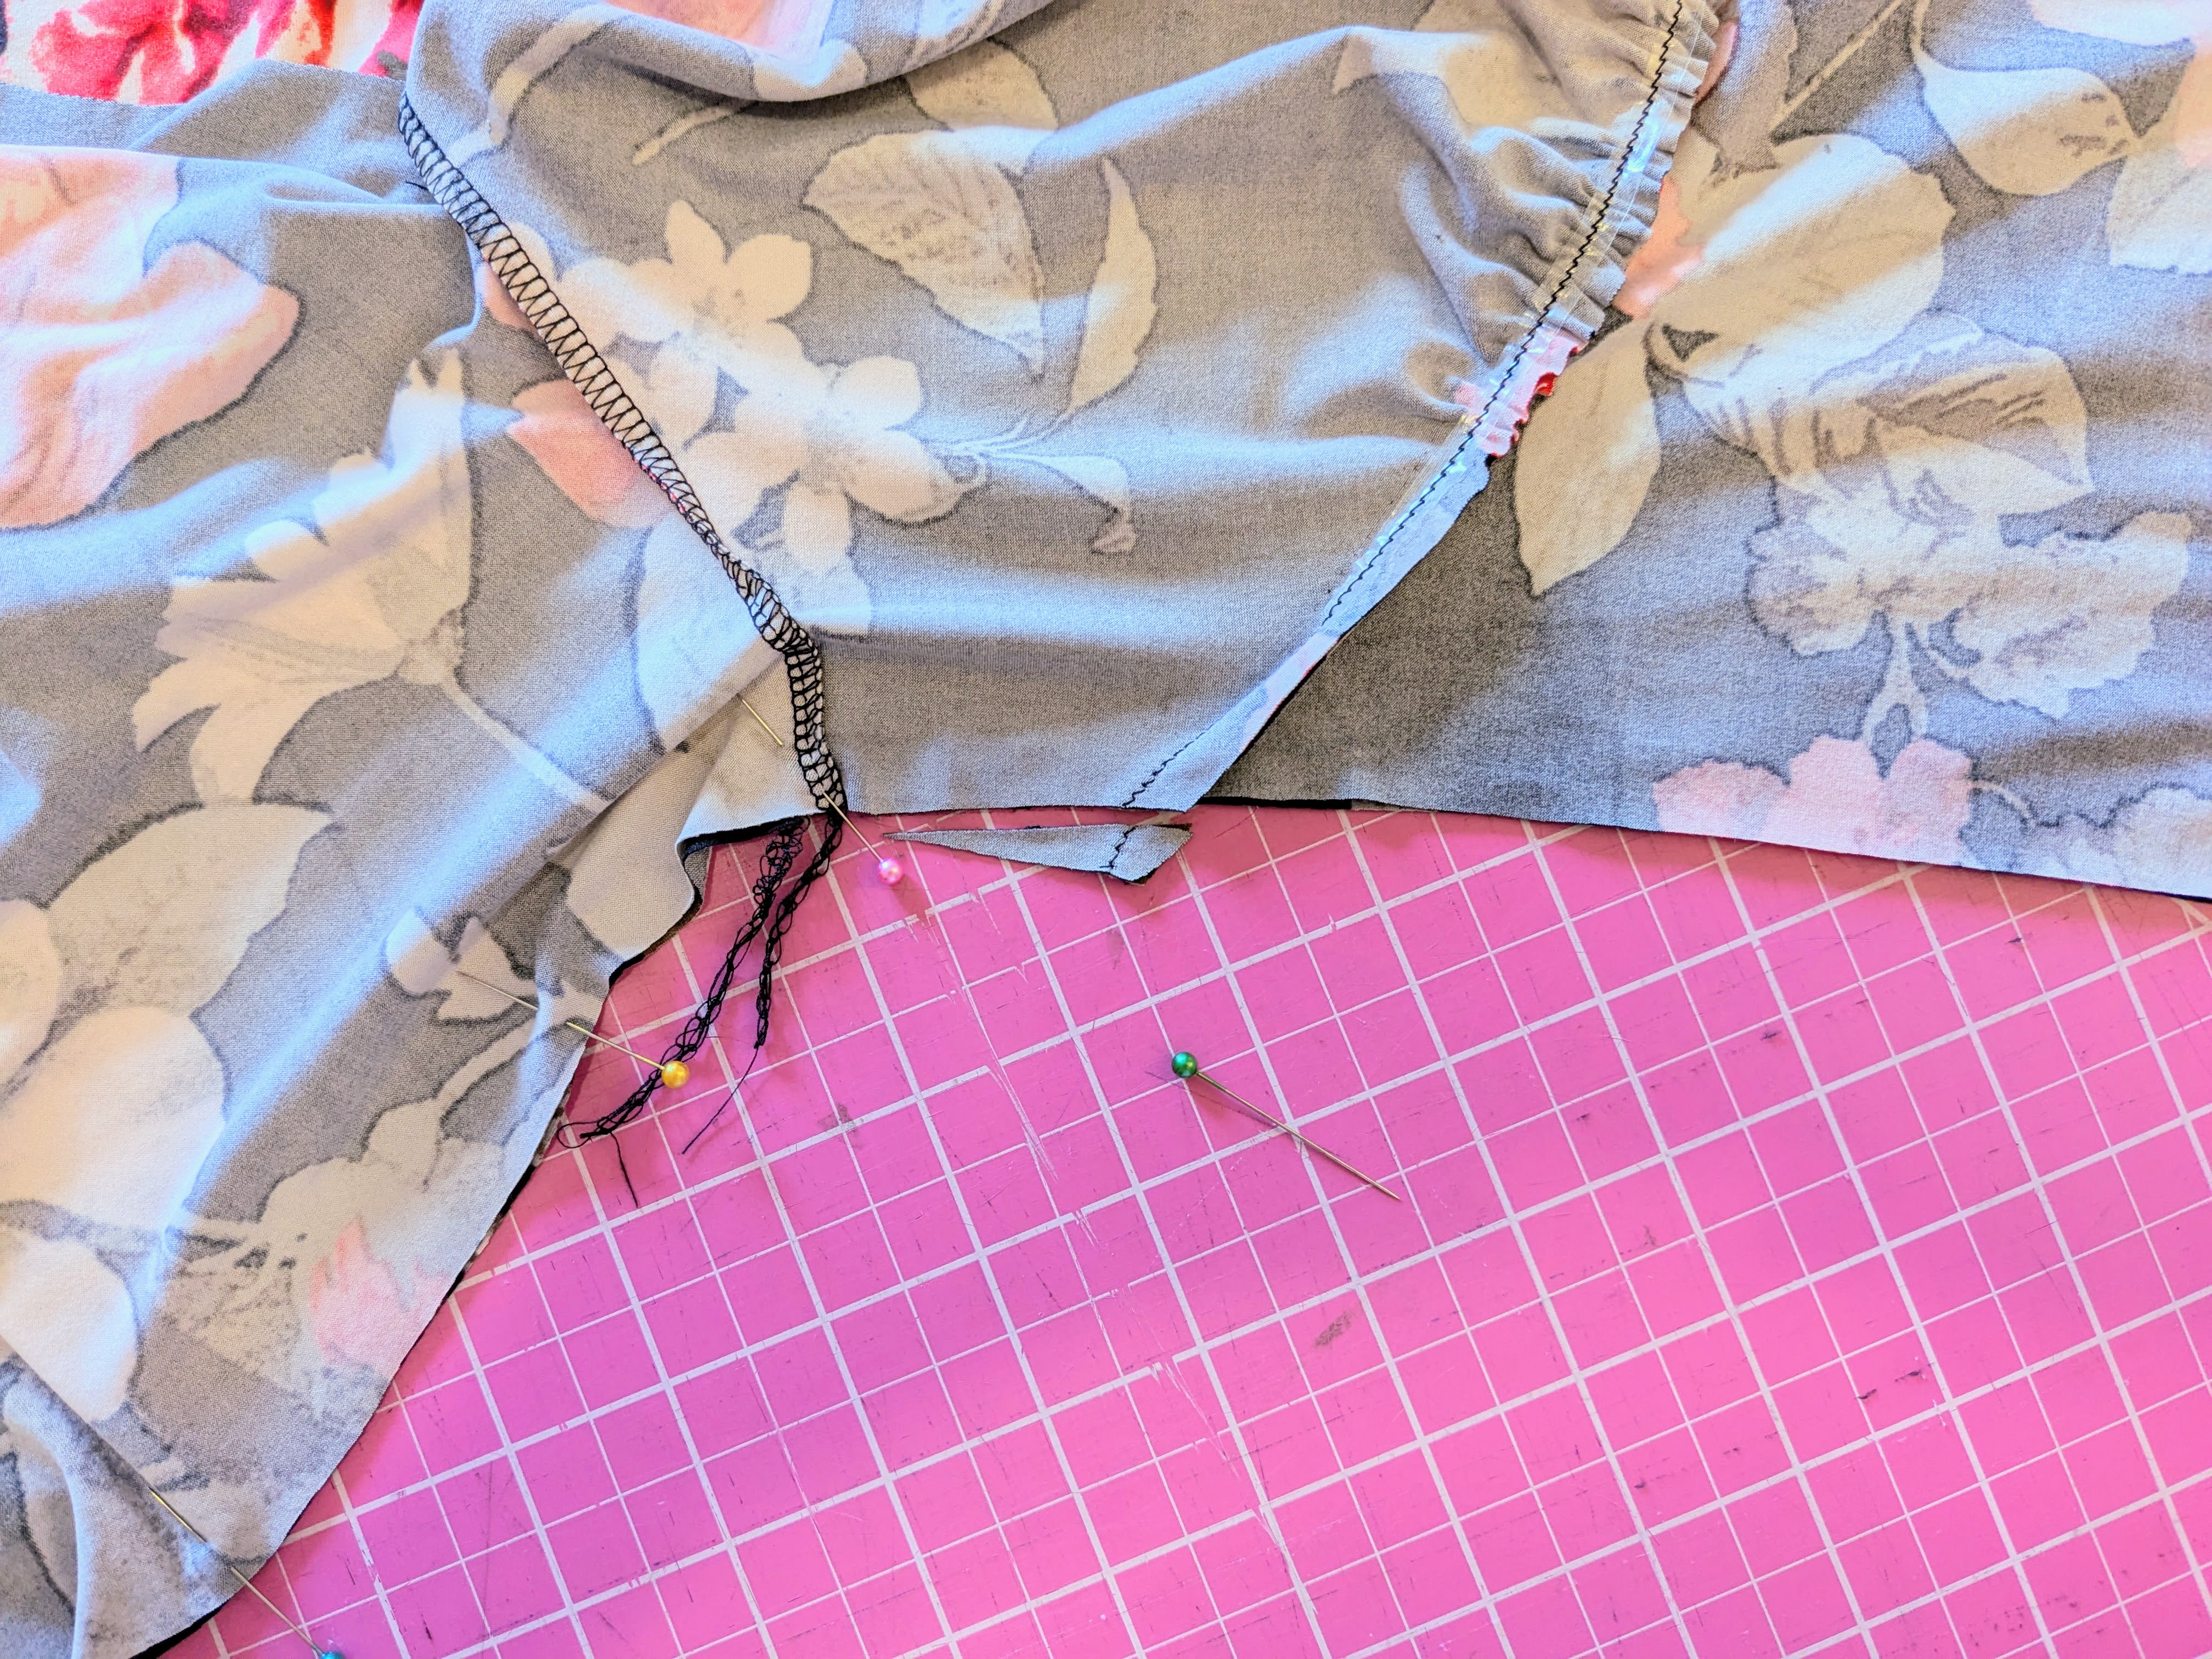
What I Did Differently
- Same as last time: I sewed the sleeve basting stitches on the flat because it’s so much easier than waiting until you’ve sewed the side seam. It also saves me extra machine adjustments because I can baste the top front bodice and sleeves at the same time.
- Use a thread color on the RS of the fabric that will blend well in case some of it is caught in the final seam.
- Didn’t hem. I usually don’t hem DBP because 1) I don’t really enjoy hemming and 2) DBP has such lovely fluidity, I don’t find it necessary. I actually think it looks worse when it’s hemmed. (Usually. I’m okay with the hems on my Be Dreamy dresses.
- Cut two 1.5″ DBP strips to line the casing around the sleeves. Otherwise, the white elastic would have shown through, and it added a little integrity to the delicate open weave. I sewed the strips to the inside of the sleeve, folded the seam allowance down, and then folded the casing over to make the channel for the elastic, then sewed the casing seam close to the first fold.
Notes for Next Time
- So, a light colored DBP shows every bump and bra line underneath it. I think I have to reserve DBP usage on this to dark colors.
- I might have to make a dress version. Or maybe a regular length, peplumless top.
Project Settings
Sewing Machine vs. Serger
| Sewing Machine | Serger |
|---|---|
|
|
Sewing Machine Settings
| Presser Foot | Stitch# | Stitch Width | Stitch Length | Needle | Top Thread Tension | Application |
|---|---|---|---|---|---|---|
| standard zig-zag (A) | 5 | 1.0 | 4 | blue tip | 4 | seams |
| standard zig-zag (A) | 0 | 3.5 | 5 | blue tip | 4 | baste 1 @ 3/8" |
| standard zig-zag (A) | 0 | 7 | 5 | blue tip | 4 | baste 2 @ 1/4" |
| standard zig-zag (A) | 6 | 3 | 3 | blue tip | 4 | neck elastic anchor |
Serger Settings
| Stitch Name | 4-thread overlock |
|---|---|
| Needles | R, L |
| Finger | B |
| Threads | 4 |
| Tension Left Needle | 4 |
| Tension Right Needle | 4 |
| Tension Upper Looper | 4 |
| Tension Lower Looper | 4 |
| Cut Width | 6 |
| Stitch Length | 2.5 |
| Differential | 1.0 |
| Application | seams |
Leave a Reply